Source(google.com.pk)
Nail polish remover
Base coat (optional)
Colored nail polish
Konad Special Nail Polish (or any regular polish you have with a thick, opaque formula)
Top coat
Konad Stamper
Konad Image Plate
Cotton swabs
Cotton ball (soaked with nail polish remover)
Tweezers (to hold cotton ball)
Konad Scraper
Konad Image Plate Holder (optional)
Paper (to protect working surface)
Konad Tutorial Instructions
Step 1:
Make sure you have everything you need within arm’s reach. Cover the work surface with a piece of paper or something that you don’t mind getting dirty. Partially unscrew the caps of your nail-polish bottles to avoid later having trouble with hard-to-open bottles when your nails are painted.
Soak a cotton ball with nail-polish remover and put it on the end of a tweezer. (This will be used later for several image-plate clean-ups during the manicure. And because the ball’s on a tweezer, you’ll avoid accidentally touching any remover and ruining your manicure.
Step 2:
Place your Konad Image Plate in the Holder (if you have one).
Step 3:
Apply your base coat (optional). Then paint your nails with your chosen nail polish. (I used China Glaze Pool Party for this tutorial. It’s a neon pink that dries matte and dries quickly. You can see swatches by clicking on the link to my previous post.)
After your last coat of polish, let it dry completely. This is crucial because stamping onto still-wet polish will destroy your manicure.
Step 4:
Apply some of the Konad Special Nail Polish to the design on the Konad Image Plate. You don’t have to apply loads of it – just enough to cover the design. (Here, I’ve chosen the leopard print. Rawr!)
Step 5:
You’ll see that I repositioned the image disk. Forgot to do that before. (Hey, I’m still learning myself!) You want to position the design you’re using so you can scrape the polish off and away from the plate without putting the discarded polish onto another design.
Hold the Konad Scraper and carefully sweep it across the design. You don’t have to press too hard…just hard enough to remove the excess polish. Applying too much pressure will take off too much polish from the engraved design. Too little pressure won’t leave a clean image.
Wipe your scraper onto your piece of paper to remove excess polish after each time you scrape.
After doing this, you really need to work fast or the polish will dry up and not transfer on your nail properly.
Step 6:
Now for the fun part! While holding the Konad Stamper, firmly press down on the design.
How to Use the Konad Stamper
Step 7:
Check to make sure you picked up the entire design and that there aren’t any faded areas. Below is a good example of what you want to see. All the areas are filled with polish.
If you didn’t pick up the entire design, simply stamp the design on the paper you’ve laid down to remove it. If it doesn’t all come off, you can use your cotton ball soaked in remover to clean it. Then stamp a few times on your paper to get rid of any polish residue.
Step 8:
If the image you’ve picked up on your stamper looks good, test it out on your piece of paper. Practice a few times so you get comfortable with how much pressure you need to apply to achieve the best image.
Then, when you’re ready to do it on your actual nail, go for it! Be sure to only use fresh stamping (i.e. new polish, new scraping, new image-picking-up) for ideal results.
Step 9:
To transfer the design from your stamp to your nail, you’ll want to apply even pressure to your nail as you roll the Konad Stamper from one side of your nail to the next. Do it in 1 smooth motion.
You’ll notice that in the below image, the tip of my nail is bare. To avoid this mistake, be extra careful when stamping full-nail designs and look at the stamp to make sure it’ll fit over your entire nail before stamping.
Step 10:
Repeat Step 9 with the rest of your nails (if you want the same design on all of them, of course).
It’s a good idea to use your cotton ball to clean the plate after each time you’ve used it to get rid of any dried polish still stuck in the engraved design. But once you get faster at doing Konad designs, you can probably just clean the plate every few stamps.
Don’t worry about stamping onto your skin. And never mind those bits that may stick over the edge of your nail for now.
Step 11:
If you have bits hanging over the edge of your nails like I did, you can carefully remove them with the pads of your finger.
Wait for the Konad Special Polish to dry before slicking on your top coat. If you don’t wait long enough, you’ll risk causing streaks/smears in your design. I suggest waiting a good 10-15 minutes before applying your top coat to prevent messing up your manicure.
Also, I asked Scrangie about which top coat to use that won’t cause streaking, and she said that the Konad brand top coat doesn’t streak because it’s probably formulated differently. Good to know! I’ve already placed an order for that top coat. Will report the results in a future post.
I’ve found that if you wait 10-15 minutes, using Seche Vite Dry Fast Top Coat works perfectly. So if you have that, you may not need to invest in the Konad top coat.
Then after waiting a little while for your top coat to dry, get your cotton swabs, dip them in nail-polish remover, and remove any polish that got onto your skin.
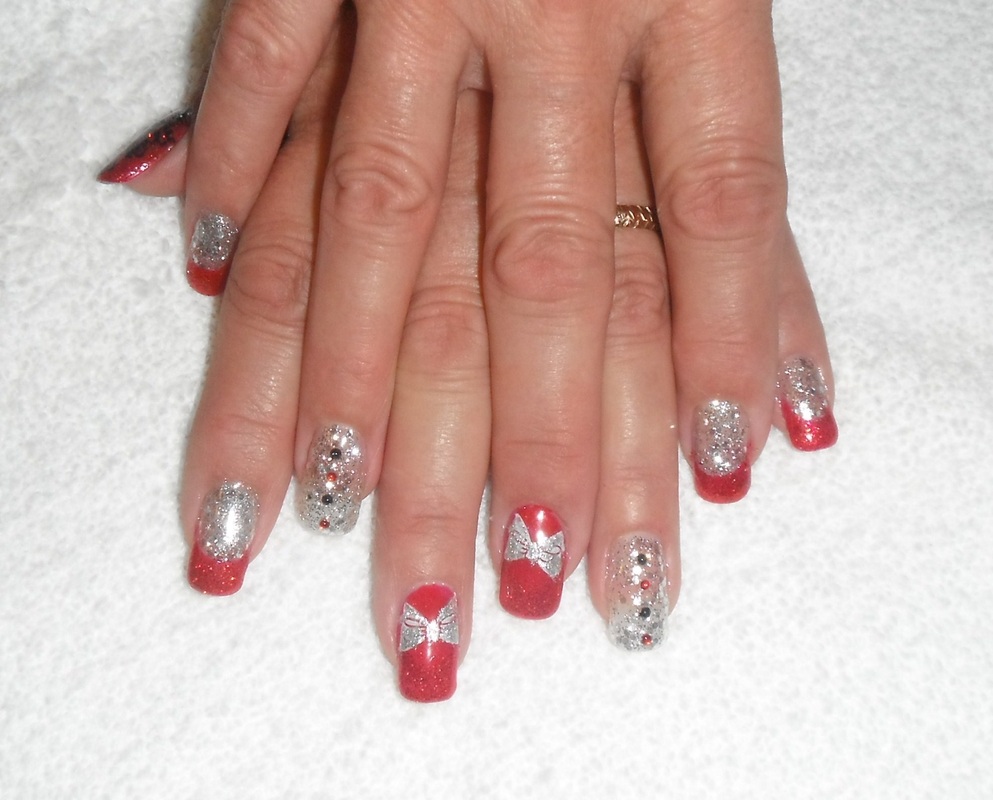
Konad Nail Art Nail Art Designs 2014 Ideas Images Tutorial Step By Step Flowers Pics Photos Wallpapers
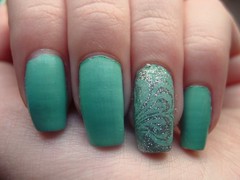
Konad Nail Art Nail Art Designs 2014 Ideas Images Tutorial Step By Step Flowers Pics Photos Wallpapers

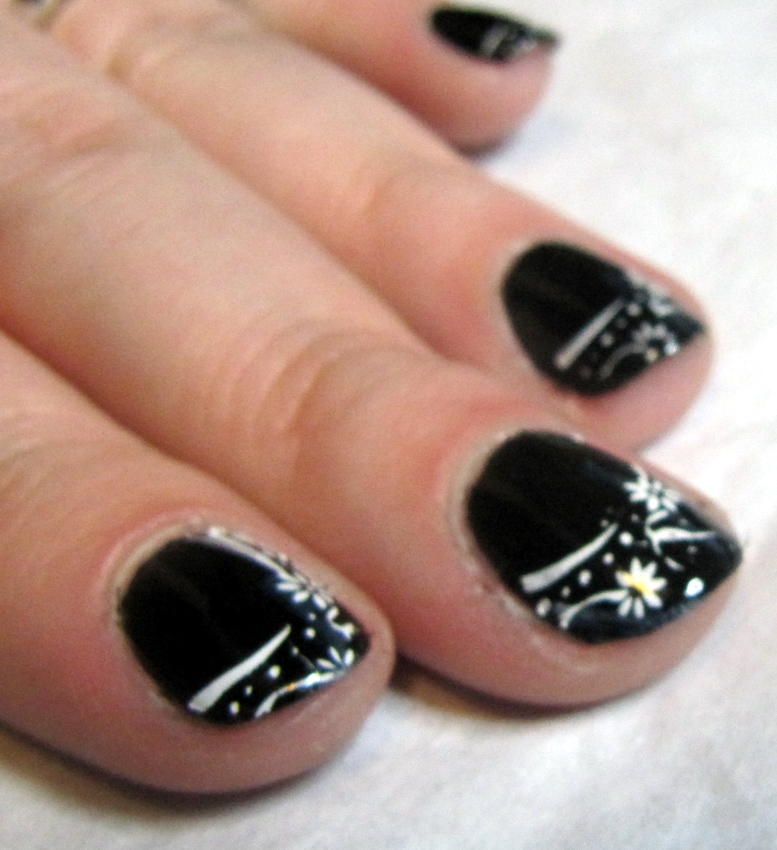
Konad Nail Art Nail Art Designs 2014 Ideas Images Tutorial Step By Step Flowers Pics Photos Wallpapers

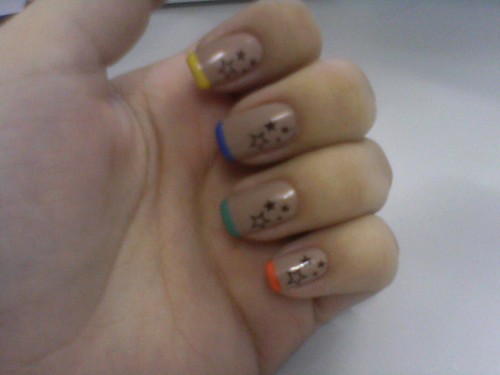
Konad Nail Art Nail Art Designs 2014 Ideas Images Tutorial Step By Step Flowers Pics Photos Wallpapers

Konad Nail Art Nail Art Designs 2014 Ideas Images Tutorial Step By Step Flowers Pics Photos Wallpapers

Konad Nail Art Nail Art Designs 2014 Ideas Images Tutorial Step By Step Flowers Pics Photos Wallpapers

Konad Nail Art Nail Art Designs 2014 Ideas Images Tutorial Step By Step Flowers Pics Photos Wallpapers

Konad Nail Art Nail Art Designs 2014 Ideas Images Tutorial Step By Step Flowers Pics Photos Wallpapers
Konad Nail Art Nail Art Designs 2014 Ideas Images Tutorial Step By Step Flowers Pics Photos Wallpapers
Konad Nail Art Nail Art Designs 2014 Ideas Images Tutorial Step By Step Flowers Pics Photos Wallpapers

Konad Nail Art Nail Art Designs 2014 Ideas Images Tutorial Step By Step Flowers Pics Photos Wallpapers

Konad Nail Art Nail Art Designs 2014 Ideas Images Tutorial Step By Step Flowers Pics Photos Wallpapers

Konad Nail Art Nail Art Designs 2014 Ideas Images Tutorial Step By Step Flowers Pics Photos Wallpapers
Konad Nail Art Nail Art Designs 2014 Ideas Images Tutorial Step By Step Flowers Pics Photos Wallpapers
Konad Nail Art Nail Art Designs 2014 Ideas Images Tutorial Step By Step Flowers Pics Photos Wallpapers
No comments:
Post a Comment